How to Pass a Pre-Listing Home Inspection: The Seller Prep Guide
A pre-listing inspection catches issues before the buyer does, on your terms. How to prepare, what inspectors check, and how to turn findings into an advantage.
By Matt Price
Founder & Builder, DwellRecord
Part of our selling series: the full document framework lives in The Complete Seller's Document Checklist. This post covers the pre-listing prep step that saves deals.
A pre-listing inspection is the home inspection you commission yourself before the buyer's inspector walks through. It's optional — most sellers skip it — and it's one of the single highest-leverage things you can do if you suspect anything about your home might surprise a buyer during their inspection contingency.
The value isn't about making the inspection findings go away. It's about knowing what's coming, pricing it into your listing, and either fixing issues proactively or disclosing them with documentation instead of having them surface as deal-killers three weeks into a contract.
Here's how to prepare for a pre-listing inspection, what inspectors actually look for, and how to turn whatever they find into a selling advantage instead of a liability.
Why Do a Pre-Listing Inspection
You Control the Narrative
When the buyer's inspector finds something, it goes into a report you haven't seen, and the buyer's agent uses it to renegotiate price or credits. When your inspector finds something, you decide whether to fix it, disclose it with a note about its history, or price it into the list.
You Eliminate Surprises
Contracts falling apart during the inspection contingency are a common source of deal failure. Sellers who've already been through the inspection process know what's real, what's cosmetic, and what's cheap to fix.
You Build Credibility
Handing a buyer a prior inspection report, plus your subsequent repair documentation, is a powerful trust signal. It reframes the transaction from adversarial to collaborative.
You Can Fix Issues Efficiently
Issues found proactively can be addressed on your schedule with contractors of your choosing, at their lowest-stress rate. Issues found under contract get fixed under time pressure, with whoever's available, often at a premium.
The Cost and Who Hires Whom
A pre-listing home inspection typically costs $300–$600 depending on home size and location — the same as a buyer's inspection. Specialized inspections (sewer scope, chimney, pool, termite) are additional.
Use a member of a recognized professional association — American Society of Home Inspectors (ASHI), International Association of Certified Home Inspectors (InterNACHI), or a state-licensed inspector in states that require licensing. Check references. Avoid inspectors who are also contractors (conflict of interest).
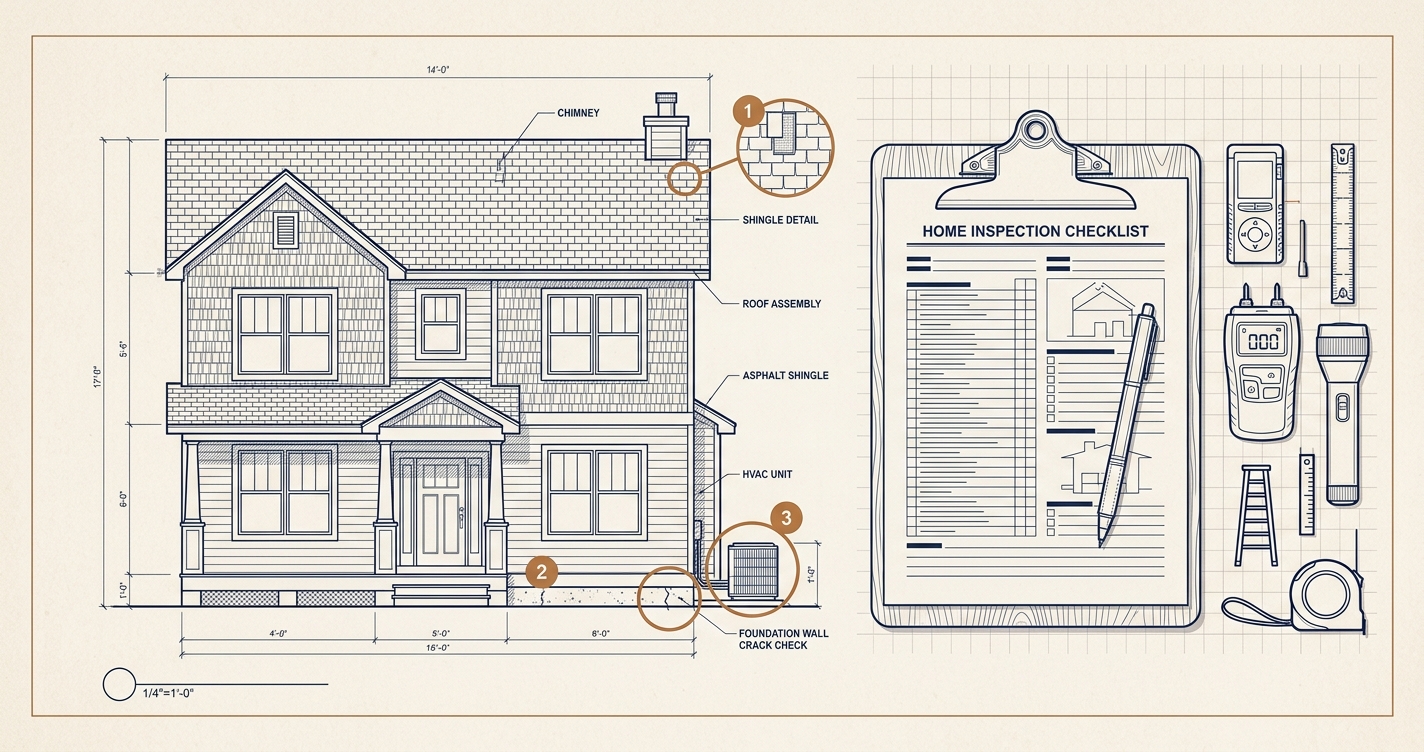
What Inspectors Actually Check
A standard home inspection follows a structured checklist covering about 400 items across these categories. The InterNACHI Residential Standards of Practice is a public reference for what a qualified inspector should evaluate.
Exterior
- Siding, trim, paint condition
- Windows and doors (frames, seals, operation)
- Decks, porches, stairs (structural integrity, code compliance)
- Driveway and walkway condition
- Grading and drainage around foundation
- Trees and vegetation contact with structure
- Exterior lighting and electrical
Roof
- Shingle or membrane condition
- Flashing at chimneys, valleys, walls
- Gutters and downspouts
- Soffits, fascia, ventilation
- Penetrations (vents, antennas, satellite)
- Chimney condition and cap
Structural
- Foundation (cracks, settling, moisture)
- Basement or crawl space (water intrusion, floor joists, beams, posts, columns)
- Attic (rafters, trusses, insulation, ventilation)
- Visible framing where accessible
Electrical
- Service panel (breakers, labeling, condition, capacity)
- Sub-panels
- Outlets (GFCI/AFCI presence where required, proper wiring)
- Switches
- Visible wiring
- Ceiling fans, light fixtures
- Smoke and CO detectors
Plumbing
- Water heater (age, condition, expansion tank, venting)
- Visible supply piping
- Drain/waste/vent piping
- Fixtures (faucets, sinks, tubs, showers, toilets — operation, leaks)
- Water pressure
- Main shutoff valve location and operation
HVAC
- Heating system (age, condition, operation)
- Cooling system (age, condition, operation, refrigerant coils)
- Ductwork where visible
- Vents and registers
- Filter condition
- Thermostat operation
Interior
- Walls, ceilings, floors (cracks, stains, damage)
- Doors and windows (operation, seals, weather stripping)
- Stairs and railings
- Fireplaces (flue, damper, hearth)
- Built-in appliances
- Basements (finished or unfinished)
Safety Systems
- Smoke and carbon monoxide detectors
- Fire extinguishers (if present)
- Handrails and guardrails
- Egress windows in bedrooms
Environmental Concerns
- Moisture and water intrusion evidence
- Visible mold
- Visible pest damage or evidence
- Potential asbestos (visual only — confirmation requires lab testing)
- Potential lead paint (pre-1978 homes — visual only)
Some inspections also include: radon testing, mold sampling, thermal imaging, and drone roof inspection. These are add-ons.
The Big Three That Kill Deals
Inspectors find hundreds of minor items. Three categories most often derail sales:
1. Roof Issues
Old roofs, damaged shingles, visible leaks, missing flashing. A buyer facing a $12,000 roof replacement after moving in will push hard to renegotiate. Know the age of your roof and the condition of the flashing. Document recent work.
2. HVAC Age and Condition
A 20-year-old furnace is a ticking clock for the new owner. Replacement runs $5,000–$10,000. Old HVAC is a common renegotiation lever. If yours is aging, be prepared for it to matter.
3. Water Damage and Moisture
Basement water intrusion, roof leaks, plumbing leaks. Even repaired moisture damage shows up as staining, and buyers assume the worst. Document any remediation thoroughly. Active moisture problems are essentially impossible to hide in an inspection.
How to Prepare Before the Inspector Arrives
Make Systems Accessible
- Clear access to the electrical panel, water heater, furnace, HVAC
- Clear access to the attic hatch
- Clear access to under-sink areas
- Ensure crawlspace doors and hatches are openable
- Move stored items away from exterior walls and foundation
Test Obvious Items
Spend a weekend running through the home like an inspector would:
- Every outlet, every light switch, every ceiling fan
- Every appliance and built-in
- Every faucet, every drain, every toilet
- Every door, every window, every lock
- The HVAC in both heat and cool modes
- Every smoke detector (press the test button)
- GFCI outlets (press the test button)
Fix what you can. Replace dead bulbs. Replace dead smoke detector batteries. Caulk where needed. Tighten loose hardware.
Document Recent Work
Pull together receipts for:
- Recent HVAC service or repair
- Recent roof work
- Recent plumbing or electrical work
- Appliance repairs or replacements
- Warranty documentation for anything still covered (see the warranty transfers guide)
Have these ready to hand to the inspector and later to include in your disclosure package.
Pre-Inspection Walkthrough
Walk your home yourself with an honest eye:
- Stand outside and look at the roof with binoculars
- Look at foundations from all sides for cracks or bulges
- Check window seals for visible moisture between panes
- Look at ceilings and corners of rooms for water staining
- Sniff for moisture or must in closets and basements
- Listen for unusual sounds from HVAC or plumbing
What to Do With the Findings
You have three options for every finding:
1. Fix It
For cheap or moderate items where fixing now prevents renegotiation later:
- Missing or damaged caulk
- Dead GFCI outlets
- Loose handrails
- Minor plumbing leaks
- Missing smoke/CO detectors
- Broken door or window seals where feasible
Getting a quote from a qualified contractor, doing the work, and documenting it with the receipt removes the item entirely from the buyer's negotiation leverage.
2. Disclose and Document
For larger items you're not going to fix:
- Note the item in your seller's disclosure
- Include a copy of the inspection report if you're providing it
- Attach any estimates or quotes you've obtained
- Price the item into your list
A $12,000 roof you're not going to replace becomes a $12,000 line item in the buyer's head either way. If it's disclosed up front with an estimate, buyers who don't want that expense self-select out early instead of wasting everyone's time through contract and inspection contingency.
3. Ignore at Your Risk
Occasionally sellers choose to not disclose findings from their pre-listing inspection. This is a bad idea. Inspection reports are effectively discoverable in disputes. Selectively concealing known issues creates disclosure liability. See the state-by-state disclosure guide.
How to Use the Inspection as a Marketing Tool
Sellers who've done pre-listing inspections can use them to their advantage:
- Include the inspection report in the listing package or share with serious buyer's agents
- Note in the listing: "Pre-listing inspection available; proactive repairs completed."
- Provide a receipt log for any work completed in response to the inspection
- Offer the inspection report to buyers in lieu of or in addition to their own inspection
Some markets — particularly competitive seller's markets — have seen pre-listing inspections become a differentiator. A buyer considering two similar homes will often gravitate toward the one with proactive documentation.
When NOT to Do a Pre-Listing Inspection
Pre-listing inspections aren't right for every sale:
- Very old or high-maintenance homes: where the finding list will be long and scary. Buyers in these markets expect to run their own inspection and price accordingly.
- As-is sales: where you're explicitly selling at a discount for cash buyers to flip or renovate.
- Estate or distress sales: where the seller (or executor) doesn't want or can't afford to discover issues.
For straightforward resale of a reasonably well-maintained home, pre-listing inspections almost always pay back their cost several times over in reduced friction through the transaction.
The Documentation System That Feeds the Disclosure
The pre-listing inspection goes smoothly for homeowners who've been tracking their home proactively:
- Improvement records — every major renovation, with dates, contractors, and photos
- Maintenance records — HVAC service dates, water heater flush dates, chimney sweep dates
- Warranty documentation — what's still under warranty and when it expires
- Receipts — for repairs, replacements, service calls
DwellRecord keeps all of this together in one place. When the inspector finds the HVAC is 12 years old, you hand them the annual service records. When they flag the water heater, you hand them the receipt showing it was replaced 3 years ago. When they note the electrical panel, you hand them the permit and receipt for the 2022 upgrade. The inspection stops being a judgment and becomes a confirmation.
Start tracking your home.Frequently Asked Questions
How long does a pre-listing inspection take?For an average single-family home, 2–4 hours. The report typically arrives within 24–72 hours.
Should I be present?Yes, ideally. Walk with the inspector. Ask questions. Understand what they're seeing and why. You'll get more value from the inspection than reading the report alone.
What's the difference between a pre-listing inspection and a buyer's inspection?Scope is typically identical. The difference is who pays and who owns the report. A pre-listing inspection is yours; the buyer's is theirs.
Can I share my pre-listing inspection to replace the buyer's?Some buyers will accept your report and skip their own. More commonly, they'll use yours as context and also run their own. That's fine — your report has still set expectations.
What if my pre-listing inspection finds a serious problem?Better to know now. Decide whether to fix, disclose and price accordingly, or reconsider the timeline of the sale. Discovering the same problem during a buyer's inspection contingency is dramatically worse.
Related Guides
- The Complete Seller's Document Checklist — cluster hub with the full pre-listing timeline.
- What Documents Do You Need When Selling Your House? — the everyday-language spoke.
- Seller Disclosure Requirements by State — what must be disclosed and how.
- Warranty Transfers at Closing — what active warranties convey with the home.
The Bottom Line
A pre-listing inspection costs a few hundred dollars and can save you weeks of friction and thousands of dollars in renegotiated credits. You find what's there, decide what to fix, disclose what's left, and walk into offers without surprises hiding in the walls. It's not mandatory. It's almost always worth it anyway.
Editorial, not advice. This article is educational and reflects publicly available IRS, state, and insurance guidance at the time of writing. It is not tax, legal, or insurance advice. For decisions that touch your specific situation, consult a CPA, enrolled agent, tax attorney, or licensed insurance professional in your state. DwellRecord keeps the record — your advisor makes the call.
Last reviewed:
Ready to protect your home investment?
Start documenting your improvements, assets, and warranties for free.
Get Started Free